
1.1.3 包管理器
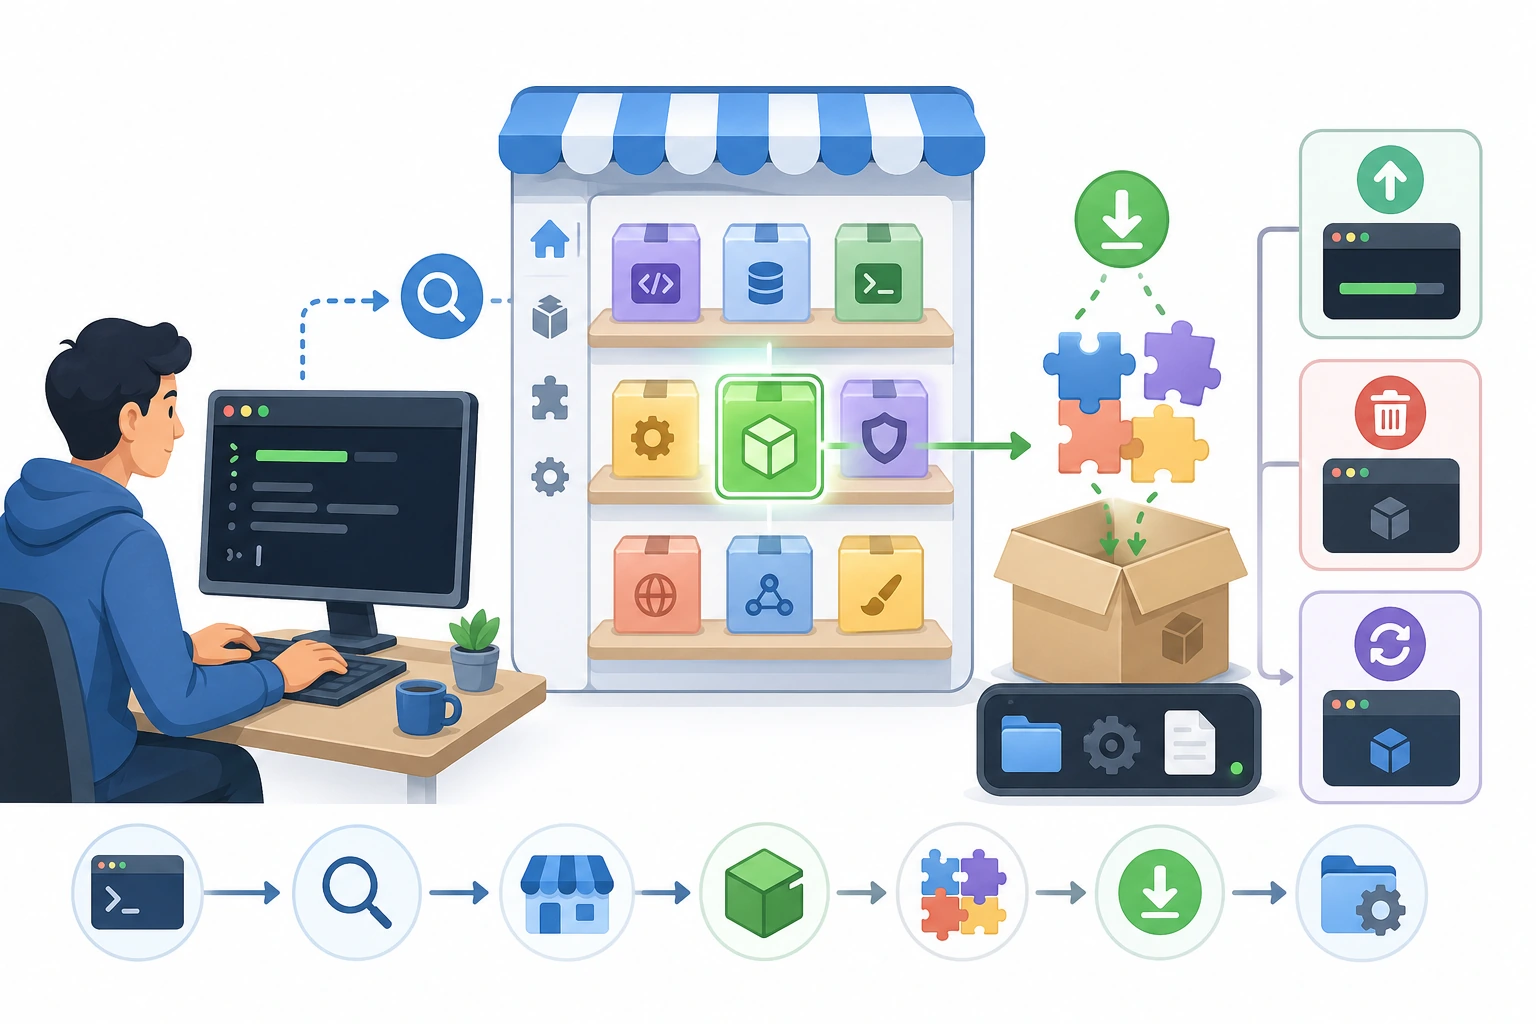
这一节解决的是“开发工具怎么安装和更新”。你会把包管理器理解成开发者版应用商店,学会根据自己的操作系统选择 Homebrew、winget、apt 等工具,为后续安装 Git、Python、数据库和部署工具打基础。
- 理解什么是包管理器,为什么需要它
- 根据你的操作系统,学会使用对应的包管理器
- 用包管理器安装几个 AI 开发需要的基础工具
什么是包管理器?
Section titled “什么是包管理器?”你用手机的时候,想装一个 App,会打开 App Store 或应用商店,搜索、点击安装。
包管理器就是电脑上的”应用商店”,不过用命令行操作。 它帮你做三件事:
- 安装软件——一行命令搞定,不需要去网站下载安装包
- 更新软件——一行命令更新所有软件到最新版
- 管理依赖——自动处理”装 A 必须先有 B”的依赖关系
不同操作系统有不同的包管理器。找到你的系统,跟着做就行。
macOS:Homebrew
Section titled “macOS:Homebrew”Homebrew 是 macOS 上最流行的包管理器,几乎每个开发者都会装。
安装 Homebrew
Section titled “安装 Homebrew”打开终端,粘贴运行:
/bin/bash -c "$(curl -fsSL https://raw.githubusercontent.com/Homebrew/install/HEAD/install.sh)"安装过程可能需要几分钟。如果提示需要密码,输入你的电脑开机密码(输入时不会显示字符,正常现象)。
安装完成后,验证一下:
brew --version# 输出类似: Homebrew 4.x.xHomebrew 常用命令
Section titled “Homebrew 常用命令”# 搜索软件brew search git
# 安装软件brew install gitbrew install wgetbrew install tree
# 查看已安装的软件brew list
# 更新所有软件brew update # 更新 Homebrew 自身brew upgrade # 更新所有已安装的软件
# 卸载软件brew uninstall wget
# 查看软件信息brew info gitHomebrew 安装 AI 开发基础工具
Section titled “Homebrew 安装 AI 开发基础工具”# Git(版本管理,下一章会详细学)brew install git
# tree(以树状结构显示目录,看项目结构很方便)brew install tree
# wget(下载文件的工具)brew install wget安装完 tree 之后试一下:
cd ~/ai-studytree输出类似:
.└── ch01-tools └── terminal-practice ├── data.csv ├── hello.py ├── notes.txt └── notes_backup.txt比 ls 更直观地看到整个目录结构。
Ubuntu/Debian Linux:apt
Section titled “Ubuntu/Debian Linux:apt”apt 是 Ubuntu 和 Debian 系列 Linux 自带的包管理器,不需要额外安装。
apt 常用命令
Section titled “apt 常用命令”# 更新软件源信息(安装前建议先执行)sudo apt update
# 安装软件sudo apt install gitsudo apt install treesudo apt install wgetsudo apt install curl
# 搜索软件apt search nodejs
# 查看已安装的软件apt list --installed
# 更新所有软件sudo apt update && sudo apt upgrade
# 卸载软件sudo apt remove wgetapt 安装 AI 开发基础工具
Section titled “apt 安装 AI 开发基础工具”sudo apt updatesudo apt install -y git tree wget curl build-essential-y 表示自动确认,不需要手动输入 “Y”。build-essential 包含了编译工具,有些 Python 库安装时需要用到。
Windows:winget 和 Scoop
Section titled “Windows:winget 和 Scoop”Windows 有两个主要的命令行包管理器。
方案一:winget(推荐,Windows 自带)
Section titled “方案一:winget(推荐,Windows 自带)”Windows 10 (1709+) 和 Windows 11 自带 winget。打开 PowerShell 试试:
winget --version如果有输出,说明已经可以用了。
# 搜索软件winget search vscode
# 安装软件winget install Git.Gitwinget install Microsoft.VisualStudioCodewinget install Python.Python.3.11
# 更新所有软件winget upgrade --all
# 查看已安装的软件winget list
方案二:Scoop(更贴近 Linux 的体验)
Section titled “方案二:Scoop(更贴近 Linux 的体验)”如果你喜欢更”开发者友好”的工具,可以安装 Scoop:
# 安装 Scoop(在 PowerShell 中运行)Set-ExecutionPolicy -ExecutionPolicy RemoteSigned -Scope CurrentUserirm get.scoop.sh | iex# 使用方式scoop install gitscoop install pythonscoop install tree
# 更新scoop update *安装 AI 开发基础工具(winget)
Section titled “安装 AI 开发基础工具(winget)”winget install Git.Gitwinget install Python.Python.3.11包管理器 vs pip/conda
Section titled “包管理器 vs pip/conda”你可能会困惑:后面还会学到 pip 和 conda,它们不也是包管理器吗?有什么区别?
| 工具 | 管理什么 | 类比 |
|---|---|---|
| brew / apt / winget | 操作系统级的软件(Git、Python、Node.js、Docker) | 手机应用商店 |
| pip | Python 库(numpy、pandas、torch) | Python 专属的应用商店 |
| conda | Python 环境 + Python 库 + 部分系统库 | 更强大的 Python 应用商店 |
简单说:
- 装 Git、Docker、系统工具 → 用 brew / apt / winget
- 装 Python 库 → 用 pip 或 conda
- 管理 Python 版本和虚拟环境 → 用 conda
这三者各司其职,不冲突。
根据你的操作系统,完成以下练习:
macOS 用户
Section titled “macOS 用户”# 1. 安装 Homebrew(如果还没装)/bin/bash -c "$(curl -fsSL https://raw.githubusercontent.com/Homebrew/install/HEAD/install.sh)"
# 2. 安装 tree 和 wgetbrew install tree wget
# 3. 用 tree 查看你之前创建的 ai-study 目录结构tree ~/ai-study
# 4. 用 wget 下载一个文件试试wget https://raw.githubusercontent.com/plotly/datasets/master/iris.csvcat iris.csv | head -5Ubuntu 用户
Section titled “Ubuntu 用户”# 1. 更新软件源sudo apt update
# 2. 安装 tree 和 wgetsudo apt install -y tree wget
# 3. 用 tree 查看目录tree ~/ai-study
# 4. 下载测试文件wget https://raw.githubusercontent.com/plotly/datasets/master/iris.csvhead -5 iris.csvWindows 用户
Section titled “Windows 用户”# 1. 确认 winget 可用winget --version
# 2. 安装 Git(后续章节需要)winget install Git.Git
# 3. 验证安装git --version完成以下检查,确认你掌握了终端基础:
- 能打开终端并知道自己在哪个目录
- 能用
cd、ls、mkdir、touch、cp、mv、rm完成基本文件操作 - 理解绝对路径和相对路径的区别
- 能用管道
|组合两个命令 - 能用
>或>>把输出保存到文件 - 能用你的包管理器安装一个软件
- 知道
echo $PATH是什么意思
检查思路与讲解
- 只需要执行自己操作系统对应的一段。
brew、apt、winget分别服务于不同平台。 tree ~/ai-study成功,说明工具安装成功,而且 shell 可以通过PATH找到它。wget ... iris.csv应该生成一个本地 CSV 文件,前几行应该有表头和数据行。如果网络受限,记录错误,并确认wget --version能运行。- Windows 这节只需要
git --version能显示版本。如果安装后找不到命令,先重新打开终端。 echo $PATH的意义是解释:为什么工具已经安装了,但 shell 仍然可能找不到命令。
学完这一页,至少保留这张证据卡:
- 命令
- 你运行过的精确终端命令
- 工作目录
- pwd/当前文件夹及重要文件列表
- 输出
- 复制的命令输出或结果截图
- 失败检查
- 错误的路径、缺少命令、权限问题,或 shell 不匹配
- 期望产出
- 可复现的终端操作,命令和结果并排展示