
13 Open-Source LLM Deployment and Fine-Tuning
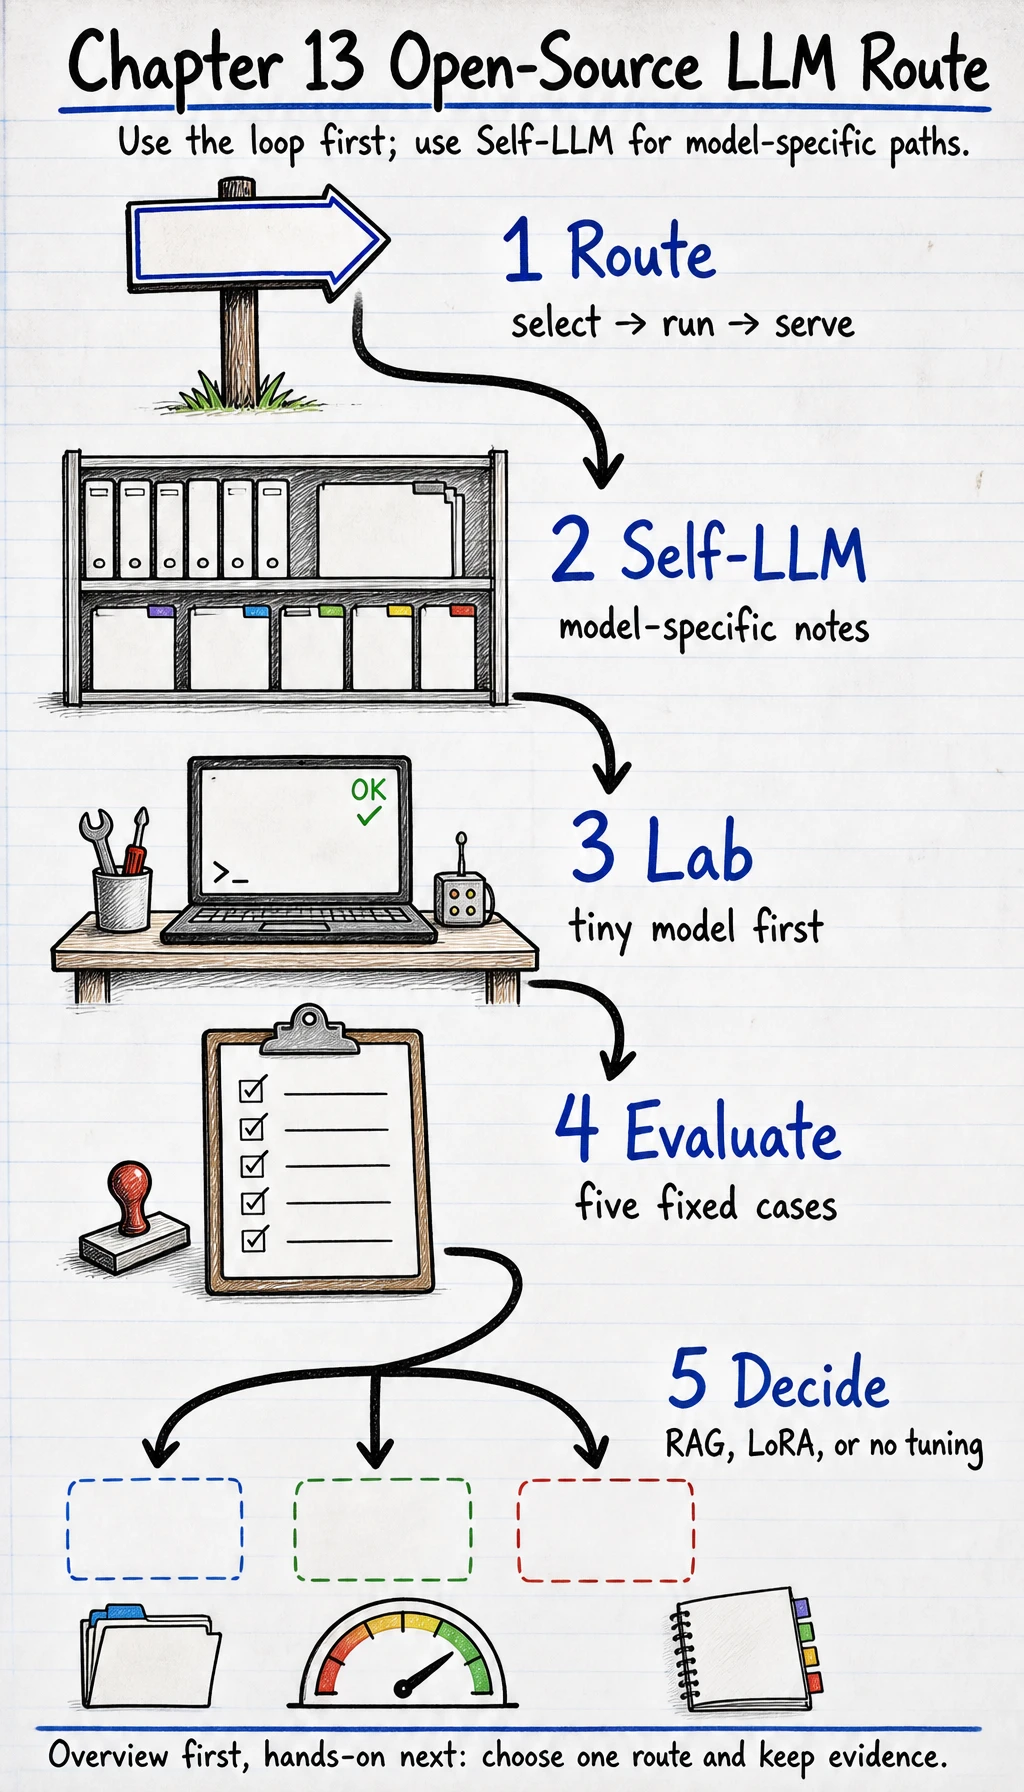
Chapter 13 turns open-source model use into an engineering workflow. The goal is not to collect every model name. The goal is to choose a compute route, choose a model, run it in a known environment, expose it through a stable interface, evaluate behavior, and keep enough evidence that another engineer can reproduce the result.
Use Datawhale Self-LLM as a broad reference library. This chapter provides the course path around it: smaller choices, fewer moving parts, and explicit pass checks.
The default route is:
- 13.1 Compute Routes: Local CPU, Free Colab, Rented GPU
- 13.2 Hands-on: Run and Serve an Open-Source LLM
- 13.3 Model and Runtime Decision
- 13.4 Serving, Evaluation, and Release Runbook
- 13.5 Open-Weight Model Landscape
If you want to follow commands immediately, still start with the compute route page. It will tell you whether to use local CPU, free Colab when available, or a rented GPU before you copy commands.
Where This Fits
Section titled “Where This Fits”By now you can build LLM, RAG, and Agent workflows. This chapter answers a different question:
What changes when the model is no longer a cloud API, but something you download, host, quantize, serve, or fine-tune yourself?
Open-source LLM work is mostly systems work. You must control hardware, drivers, model files, runtime, API contract, logs, evaluation cases, and rollback.
What This Chapter Must Prove
Section titled “What This Chapter Must Prove”By the end of the chapter, you should be able to prove four things:
| Proof | What you produce | Why it matters |
|---|---|---|
| Compute proof | compute_route.md and environment report | Shows whether the run belongs on local CPU, free Colab, or rented GPU |
| Runtime proof | first model command, prompt, output, and API request | Shows the model can run through a repeatable interface |
| Evaluation proof | fixed five-case evaluation table | Separates “it answered once” from “it behaves predictably” |
| Release proof | README, stop step, rollback note | Makes the result useful to another engineer |
This is the reason the chapter may feel stricter than a model tutorial. Open-source LLM work becomes valuable only when the run can be repeated, inspected, stopped, and compared.
The Deployment Loop
Section titled “The Deployment Loop”-
Select Decide model family, license, size, context length, language, and modality. Keep the model card, license note, and reason for choosing it.
-
Prepare Confirm GPU/CPU, CUDA, PyTorch, disk, network, and secrets. Keep the environment report and cost estimate.
-
Run Choose Transformers, Ollama, llama.cpp, vLLM, SGLang, or a vendor runtime. Keep the exact command, model path, and first response.
-
Serve Wrap the model as an OpenAI-compatible API, internal SDK, or batch script. Keep a request/response sample and error path.
-
Evaluate Fix prompts, RAG cases, safety cases, latency, and cost checks. Keep the eval table and failure notes.
-
Adapt Choose among Prompt, RAG, quantization, LoRA, or full fine-tuning. Keep the decision memo, adapter artifact, and before/after notes.
-
Release Package the README, container, runbook, monitoring, and shutdown plan. Keep the deployment checklist and rollback notes.
Learning Order And Task List
Section titled “Learning Order And Task List”- Choose the compute route in 13.1 Compute Routes; stop when
compute_route.mdsays local CPU, free Colab, or rented GPU and why. - Verify the environment; stop when Python, PyTorch, CUDA/MPS/CPU, disk, and reset/rental risk are saved.
- Run one local inference in 13.2 Hands-on; stop when you have prompt, output, command, and model version.
- Wrap it as an API or script; stop when you have one repeatable request/response and a stop command.
- Run a tiny evaluation set; stop when you have at least five prompts and pass/fail notes.
- Compare model/runtime choices in 13.3 Model and Runtime Decision; stop when you know why this model/runtime pair is enough.
- Turn the result into 13.4 Serving, Evaluation, and Release Runbook; stop when README, commands, cost, limits, and shutdown are written.
- Read 13.5 Open-Weight Model Landscape; stop when you can choose a model family from route, license, privacy, runtime, and evidence.
- Decide whether to fine-tune; stop when you can justify no tuning, LoRA, or full training.
The stage deliverables are compute_route.md, a runnable runbook, environment report, open-weight model selection card, five-case evaluation table, model/runtime decision memo, and README with shutdown or rollback notes.
How To Use This With Self-LLM
Section titled “How To Use This With Self-LLM”Self-LLM is best treated as a model-specific reference manual. This chapter is the engineering loop template. Use them together this way:
-
Build the shared evidence bundle here first Finish the environment report, model choice, first run, eval table, API request/response, and shutdown step.
-
Then use Self-LLM for a specific model route When switching to Qwen, Llama, ChatGLM, InternLM, Baichuan, or another family, use the matching model notes for download, inference, and tuning.
-
Bring the evidence back to this template No matter which model tutorial you follow, keep
model_decision.md,eval_cases.csv,first_run.md,README.md, and shutdown evidence in your own project.
This avoids the common failure mode: the tutorial ran once, but you cannot explain the model, environment, license, evaluation, or stop procedure.
Model Selection Card
Section titled “Model Selection Card”Before switching models, write one selection card. Do not only write “this model is popular.”
| Field | What to record |
|---|---|
candidate_model | Exact model name and revision if relevant |
model_source | Hub, mirror, local path, or internal registry |
license | License and any usage restriction you must respect |
parameter_count_and_quantization | Size plus quantization format, if used |
context_length | The context window you plan to rely on |
language_or_domain_fit | Why it fits this language, task, or domain |
estimated_vram_or_ram | Memory needed for the selected runtime |
estimated_disk | Download and cache size you must reserve |
runtime | Transformers, llama.cpp, Ollama, vLLM, SGLang, or another runtime |
reason_for_choice | The evidence-based reason this is enough for the first run |
rejected_models | Models you considered but did not choose |
risks | License, privacy, download, VRAM, speed, and output-quality risks |
If this card is incomplete, do not rent a GPU and do not start fine-tuning yet.
First Runnable Loop: Build a Model Runbook
Section titled “First Runnable Loop: Build a Model Runbook”This offline script does not download a model. It teaches the planning habit you need before renting a GPU or starting a long download.
Create ch13_open_llm_runbook.py and run it with Python 3.10 or later.
import jsonfrom pathlib import Path

project = {    "task": "course assistant",    "privacy": "local documents may be private",    "expected_users": "small internal group",    "latency_target_seconds": 4,    "available_vram_gb": 24,    "needs_fine_tuning": False,}

def choose_runtime(info):    if info["available_vram_gb"] >= 24:        return {            "runtime": "vLLM or SGLang",            "model_size": "7B to 14B instruct model",            "why": "enough VRAM for a practical server and OpenAI-compatible API",        }    if info["available_vram_gb"] >= 8:        return {            "runtime": "Transformers or Ollama",            "model_size": "1B to 7B instruct model, possibly quantized",            "why": "simpler setup and acceptable for a small lab",        }    return {        "runtime": "CPU quantized runtime or cloud API fallback",        "model_size": "small quantized model",        "why": "local GPU memory is too limited for serving a larger model",    }

def choose_adaptation(info):    if info["needs_fine_tuning"]:        return "prepare a LoRA experiment with a fixed eval set first"    if info["privacy"] == "local documents may be private":        return "try RAG before fine-tuning"    return "start with prompt and decoding settings"

plan = {    "project": project["task"],    "runtime_choice": choose_runtime(project),    "adaptation_choice": choose_adaptation(project),    "minimum_evidence": [        "environment report",        "model card and license note",        "first prompt/output",        "five-case evaluation table",        "latency and memory note",        "shutdown or rollback step",    ],}
Path("open_llm_runbook.json").write_text(json.dumps(plan, indent=2), encoding="utf-8")print(json.dumps(plan, indent=2))
Expected output:
{ "project": "course assistant", "runtime_choice": { "runtime": "vLLM or SGLang", "model_size": "7B to 14B instruct model", "why": "enough VRAM for a practical server and OpenAI-compatible API" }, "adaptation_choice": "try RAG before fine-tuning", "minimum_evidence": [ "environment report", "model card and license note", "first prompt/output", "five-case evaluation table", "latency and memory note", "shutdown or rollback step" ]}The output should become your deployment runbook. Before running a large model, change the VRAM number, privacy requirement, task, and fine-tuning flag.
Read the Runbook Line by Line
Section titled “Read the Runbook Line by Line”-
project = {...}This is the project constraint card. It turns “I want to run a model” into hardware, privacy, users, latency, and tuning requirements. Changetask,privacy,available_vram_gb, andneeds_fine_tuningfirst. -
choose_runtime(info)This is the runtime decision rule. It prevents you from renting a GPU or downloading a model before checking memory. Adjust the VRAM thresholds after you know the real instance or local machine. -
choose_adaptation(info)This is the fine-tuning gate. Private knowledge should usually try RAG before training. Setneeds_fine_tuningtoTrueonly after fixed eval cases keep failing. -
plan = {...}This is the deployment checklist that connects model choice, runtime choice, and required evidence. Add project-specific evidence such as auth, logging, or rollback notes. -
write_text(...)andprint(...)These lines save the same plan to disk and terminal output, so the run can be reviewed later. Commit or archiveopen_llm_runbook.jsonwith the rest of the experiment notes.
If you can explain each row, you understand the script. If a row feels vague, edit the project card and run it again before touching a GPU.
Minimal Environment Check
Section titled “Minimal Environment Check”Run this before downloading a model:
python -Vpython - <<'PY'import platformtry: import torch print("torch:", torch.__version__) print("cuda:", torch.cuda.is_available()) print("device:", torch.cuda.get_device_name(0) if torch.cuda.is_available() else "cpu")except Exception as exc: print("torch check failed:", repr(exc))print("platform:", platform.platform())PYSave the output. If the environment is not visible, the model result is not reproducible.
Renting a GPU Without Losing the Thread
Section titled “Renting a GPU Without Losing the Thread”Treat a rented GPU as a short experiment, not a permanent computer. Free or no-rental paths come first: a local quantized model, a school or company GPU, or a notebook platform’s free quota if available. If those are too slow or unavailable, rent only enough time to prove one model/runtime loop.
-
Define the run Write the target model size, runtime, expected first prompt, and maximum rental time. Save
gpu_plan.mdwith stop time and budget guardrail. -
Pick the instance Choose Linux, enough VRAM for the model, enough disk for weights, and SSH access. Save instance type, VRAM, disk, and hourly price note.
-
Lock access down Use SSH keys, keep the model API private by default, and open only the ports you need. Save a security note and exposed ports.
-
Prepare the environment Run
python -V, torch/CUDA check,nvidia-smiif available, and disk check. Saveenvironment_report.txt. -
Run one model path Download or mount one model, run one prompt, then save command, output, and failure notes. Save
first_run.md. -
Stop and archive Copy runbook, logs, eval cases, and README back to your project, then stop or destroy the instance. Save a shutdown screenshot or stop note.
The most important command is often the last one: stop the machine. A successful experiment that keeps billing silently is still an engineering failure.
Runtime Choices
Section titled “Runtime Choices”Transformers
Use it for learning, debugging, and custom Python pipelines. Avoid treating it as the final server when you immediately need high-throughput serving.
Ollama / LM Studio
Use it for local demos, laptop testing, and non-engineer handoff. Avoid it when you need precise production control.
llama.cpp
Use it for CPU or quantized edge experiments. Avoid it when you need standard GPU server features.
vLLM
Use it for OpenAI-compatible high-throughput API serving. Avoid it when your GPU or dependency setup is not ready.
SGLang
Use it for structured generation, serving, and agentic workloads. Avoid it when you only need the simplest possible first run.
Cloud model API
Use it for product prototypes with low operational burden. Avoid it when privacy, cost, or latency requires local control.
Start with the simplest runtime that proves the product behavior. Upgrade only when latency, cost, privacy, or throughput demands it.
Fine-Tuning Decision
Section titled “Fine-Tuning Decision”Do not fine-tune just because the model gave one bad answer.
Missing private knowledge
Try RAG first. Fine-tune only if retrieval is correct but behavior is still wrong.
Wrong output format
Try schema constraints, a parser, and examples first. Fine-tune only if many fixed cases still fail.
Wrong tone or role
Try the system prompt and examples first. Fine-tune only if the same style issue repeats across many examples.
Domain terms weak
Try a glossary, RAG, and few-shot examples first. Fine-tune only if you have enough labeled domain examples.
Too slow or expensive
Try a smaller model, quantization, and batching first. Move toward training only if behavior is good and runtime still fails constraints.
For most course projects, LoRA is the first serious adaptation method. Full fine-tuning is a later engineering choice, not the default.
Evidence to Keep
Section titled “Evidence to Keep”Keep this page’s proof of learning as a small evidence card:
- Model Choice
- selected model, size, license, and reason
- Runtime Choice
- Transformers/Ollama/llama.cpp/vLLM/SGLang/API and why
- Environment
- Python, torch, CUDA/device, disk, and cost estimate
- First Run
- exact command, prompt, output, latency, memory note
- Adaptation Decision
- Prompt/RAG/quantization/LoRA/full fine-tune decision
- Expected Output
- runbook, evaluation table, README, and rollback or shutdown note
Common Failures
Section titled “Common Failures”- Downloading a large model before checking disk, network, and VRAM.
- Treating a successful chat response as deployment evidence.
- Ignoring the model license or data-use restriction.
- Fine-tuning without a fixed before/after evaluation set.
- Exposing a local model server without auth, logging, and shutdown rules.
- Forgetting to stop a rented GPU after the experiment.
Pass Check
Section titled “Pass Check”You pass this chapter when you can choose a model/runtime pair for one project, run the environment check, produce open_llm_runbook.json, explain whether Prompt, RAG, quantization, LoRA, or full fine-tuning is the right next step, and write a README command another engineer can follow.